How to Roll Exterior Paint?
Rolling exterior paint might look simple – dip, roll, done – but anyone who has ever tried it knows there’s a little more to the story. Exterior surfaces are exposed to wind, moisture, temperature swings, and UV rays. That means your paint job isn’t just about aesthetics – it’s about protection, durability, and long-term value.
Whether you’re refreshing faded siding or planning a full Calgary renovation, understanding how to properly roll exterior paint can save you time, money, and frustration. And if halfway through you decide ladders and splatter aren’t your thing, that’s exactly where professional services like Rennewservices step in.
Let’s break it down step by step.
Why Rolling Exterior Paint Is Different from Interior Painting
Painting a bedroom is one thing. Painting an exterior wall while balancing on a ladder with a breeze trying to redecorate your hair is another.
Exterior painting differs because:
- Surfaces are often textured – stucco, wood grain, brick
- Weather conditions affect drying and adhesion
- Larger surface areas require consistency
- Proper sealing and priming are critical
Exterior paint must withstand rain, snow, heat, and sun exposure. If it’s applied unevenly or too thin, it will fail prematurely. A proper roll technique ensures correct film thickness – which directly affects durability.
Professionals understand this balance instinctively. They’re not just applying color – they’re building a protective layer.
Step 1 – Prepare the Surface Properly
Here’s a truth many DIYers learn the hard way: 70% of a good paint job is preparation.
Before you even think about picking up a roller:
- Wash the surface thoroughly – remove dirt, mold, and chalking
- Scrape peeling paint
- Sand rough edges
- Repair cracks and holes
- Apply primer if needed
Pressure washing is common for exteriors, but it must be done correctly to avoid forcing water into siding or behind trim. Moisture trapped beneath paint can cause bubbling and peeling.
This is often where homeowners underestimate the work involved. A professional crew doesn’t rush this stage – because they know poor prep equals short lifespan.
Step 2 – Choose the Right Roller and Nap Thickness
Not all rollers are created equal.
For exterior surfaces, nap thickness matters:
- 3/8″ nap – smooth siding
- 1/2″ to 3/4″ nap – textured wood or moderate stucco
- 1″ or thicker – heavy stucco or masonry
The nap holds paint and determines how well it fills surface irregularities. Too thin, and you’ll miss texture. Too thick, and you’ll create uneven buildup.
Also use:
- A sturdy roller frame
- An extension pole – your back will thank you
- High-quality exterior paint
Cheap rollers shed fibers. Cheap paint requires extra coats. Both increase frustration.
Professionals who specialize in contractor paint Calgary projects know that material selection impacts final results as much as technique.
Step 3 – Load the Roller Correctly
Here’s where many beginners go wrong – overloading or underloading the roller.
The correct method:
- Dip the roller into the tray.
- Roll it back and forth on the tray slope.
- Ensure it’s evenly saturated but not dripping.
If paint drips off the roller before it touches the wall, you’re using too much. If the roller feels dry halfway through a stroke, you’re using too little.
A properly loaded roller should feel smooth and controlled.
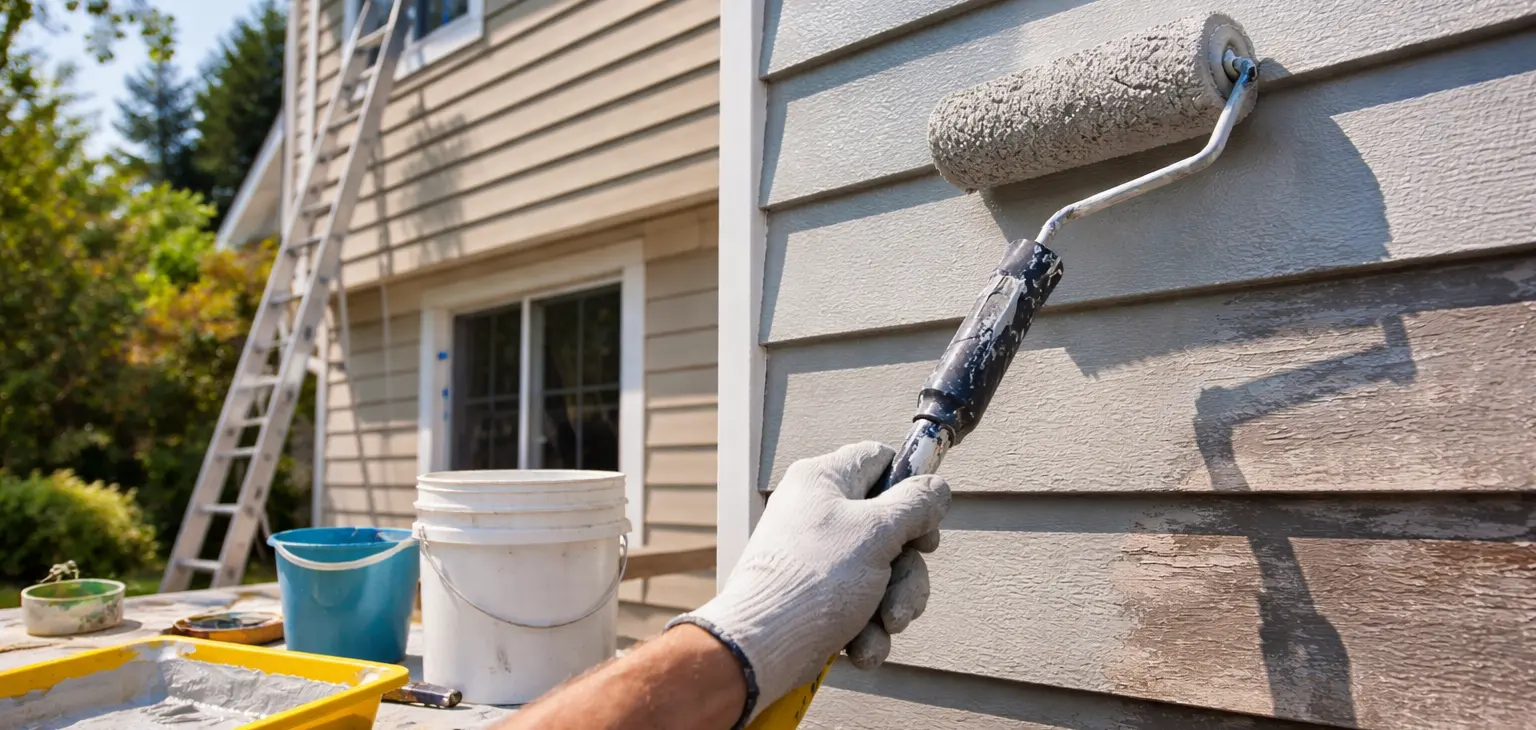
Step 4 – Use the “W” or “M” Technique
Instead of rolling straight vertical lines, professionals use the “W” method:
- Roll a large “W” shape on the wall.
- Fill it in without lifting the roller.
- Maintain a wet edge.
This distributes paint evenly and prevents lap marks. Always work in manageable sections – typically 3 to 4 feet wide.
The key principle is consistency:
- Even pressure
- Continuous motion
- Overlapping strokes
Avoid pressing too hard. Let the roller do the work. Pressing forces paint out unevenly and can leave streaks.
Step 5 – Work Top to Bottom
Gravity always wins. So start at the top and work downward.
Why?
- Drips are easier to catch and smooth out
- You maintain a uniform finish
- It prevents reworking dried sections
If painting near trim, windows, or soffits, cut in with a brush first. Then roll into the brushed edges while they’re still wet. This prevents visible transitions between brush and roller areas.
Professional painters often move in coordinated teams – one cutting in, one rolling – to maintain perfect flow.
Step 6 – Watch the Weather
Exterior paint and weather are in a complicated relationship.
Avoid painting when:
- Rain is forecast within 24 hours
- Temperature is below recommended range
- Direct sunlight is extreme
- Wind is strong
Ideal conditions are mild temperatures and overcast skies.
Painting in direct sun can cause paint to dry too quickly, leading to uneven texture and visible roller marks. High humidity slows drying and may affect adhesion.
Experienced crews monitor forecasts carefully before scheduling jobs. That’s one of the benefits of working with specialists – they understand environmental timing.
Step 7 – Apply Multiple Coats Properly
Most exterior projects require at least two coats.
Allow proper drying time between coats. Rushing this step leads to:
- Peeling
- Cracking
- Uneven color
Light colors over dark surfaces may require additional coverage. Premium paints often provide better hide, but surface condition still plays a major role.
Rolling the second coat should feel smoother because the surface is already sealed. Still, maintain the same disciplined technique.
Common Mistakes to Avoid
Even confident DIYers run into these issues:
- Skipping primer on bare wood
- Using interior rollers outside
- Painting over dirt or mildew
- Applying too thin a coat
- Ignoring caulking gaps
Each of these shortens the lifespan of the paint job.
Exterior paint isn’t just decoration – it protects your home from moisture intrusion and structural damage.
When It Makes Sense to Call the Professionals
Rolling exterior paint sounds manageable – and technically, it is. But scale changes everything.
Consider:
- Multi-story homes
- Complex trim details
- Large stucco surfaces
- Tight timelines
- Safety concerns
Ladders, scaffolding, and equipment add complexity. And exterior painting often requires insurance coverage and proper safety standards.
This is where companies like Rennewservices provide real value. Professional crews bring:
- Experience with all surface types
- Commercial-grade equipment
- Efficient workflows
- Warranty-backed workmanship
Instead of spending multiple weekends learning by trial and error, homeowners can rely on proven systems and consistent results.
The Bigger Picture – Quality, Protection, and Value
A well-executed exterior paint job:
- Boosts curb appeal
- Increases property value
- Protects siding and trim
- Extends material lifespan
Poorly executed painting does the opposite – leading to premature repainting costs.
While DIY can be satisfying, exterior painting is one of those projects where professional precision often pays for itself in durability and finish quality.
And let’s be honest – there’s a certain peace of mind in watching a trained team transform your property while you enjoy your weekend without paint in your hair.
Final Thoughts
Rolling exterior paint is a skill that combines preparation, technique, timing, and material knowledge. It’s not overly complicated – but it demands discipline and attention to detail.
If you’re taking on a small project, follow these steps carefully and respect the preparation process.
If you’re planning a larger transformation, especially as part of a full exterior refresh, trusting experienced professionals ensures long-lasting, high-quality results.
A beautiful exterior isn’t just about color – it’s about craftsmanship.