How to Repair Small Drywall Holes Without Experience?
There’s a special kind of panic that hits when you notice a hole in your drywall. Maybe it came from a door handle that swung too hard, an overconfident attempt to hang a picture, or a mysterious incident no one wants to admit. The good news – small drywall holes are not the end of the world. Even better – fixing them is absolutely possible without prior experience.
That said, before you grab your tools and channel your inner handyman, it’s worth understanding both the process and the limits. Because while DIY can be satisfying, there’s a fine line between “quick fix” and “weekend disaster.”
What Counts as a “Small” Drywall Hole?
Before jumping into repair mode, let’s define the problem. Small drywall holes typically fall into three categories:
- Nail holes and tiny dents – the kind you barely notice until light hits the wall just right
- Medium holes – around the size of a coin or slightly larger
- Small punctures – often caused by door handles, furniture, or minor accidents
If the hole is larger than your hand or involves structural damage, it’s no longer a beginner project. That’s the moment when professional help becomes the smarter move.
Tools and Materials You’ll Need
You don’t need a full construction kit. Most drywall fixes rely on a simple set of tools:
- Spackling compound or joint compound
- Putty knife
- Sandpaper (fine grit)
- Drywall patch kit (for larger small holes)
- Primer and paint
Optional but helpful:
- A sanding sponge for smoother finishing
- A damp cloth to clean dust
- Patience – arguably the most important tool
Step-by-Step – Fixing Tiny Holes
Let’s start with the easiest case. If you’re dealing with nail holes or very small dents, the process is surprisingly quick.
First, clean the area. Dust and loose particles can prevent the compound from sticking properly. Then apply a small amount of spackling compound with your putty knife, pressing it into the hole.
Smooth it out so it’s flush with the wall. Less is more here – overloading the area will just create more sanding work later.
Let it dry completely. Depending on the product, this can take anywhere from 30 minutes to a few hours.
Once dry, lightly sand the area until it blends seamlessly with the wall. Finish with primer and paint, and just like that, the hole disappears – like it never existed.
Step-by-Step – Repairing Medium Holes
Now things get slightly more serious. If the hole is bigger than a nail but still manageable, you’ll need a bit more technique.
Start by cleaning and slightly widening the hole if the edges are rough. This may sound counterintuitive, but smoother edges actually help the repair hold better.
Apply the compound in layers instead of trying to fill everything at once. Spread the first layer, let it dry, then apply a second thin layer if needed.
Sand gently between layers. The goal is to create a smooth transition between the patch and the wall.
Finish with primer and paint. At this stage, if the patch is noticeable, don’t panic – even professionals sometimes need multiple passes to get it perfect.
Step-by-Step – Using a Patch for Larger Small Holes
For holes closer to a few inches wide, a drywall patch kit becomes your best friend.
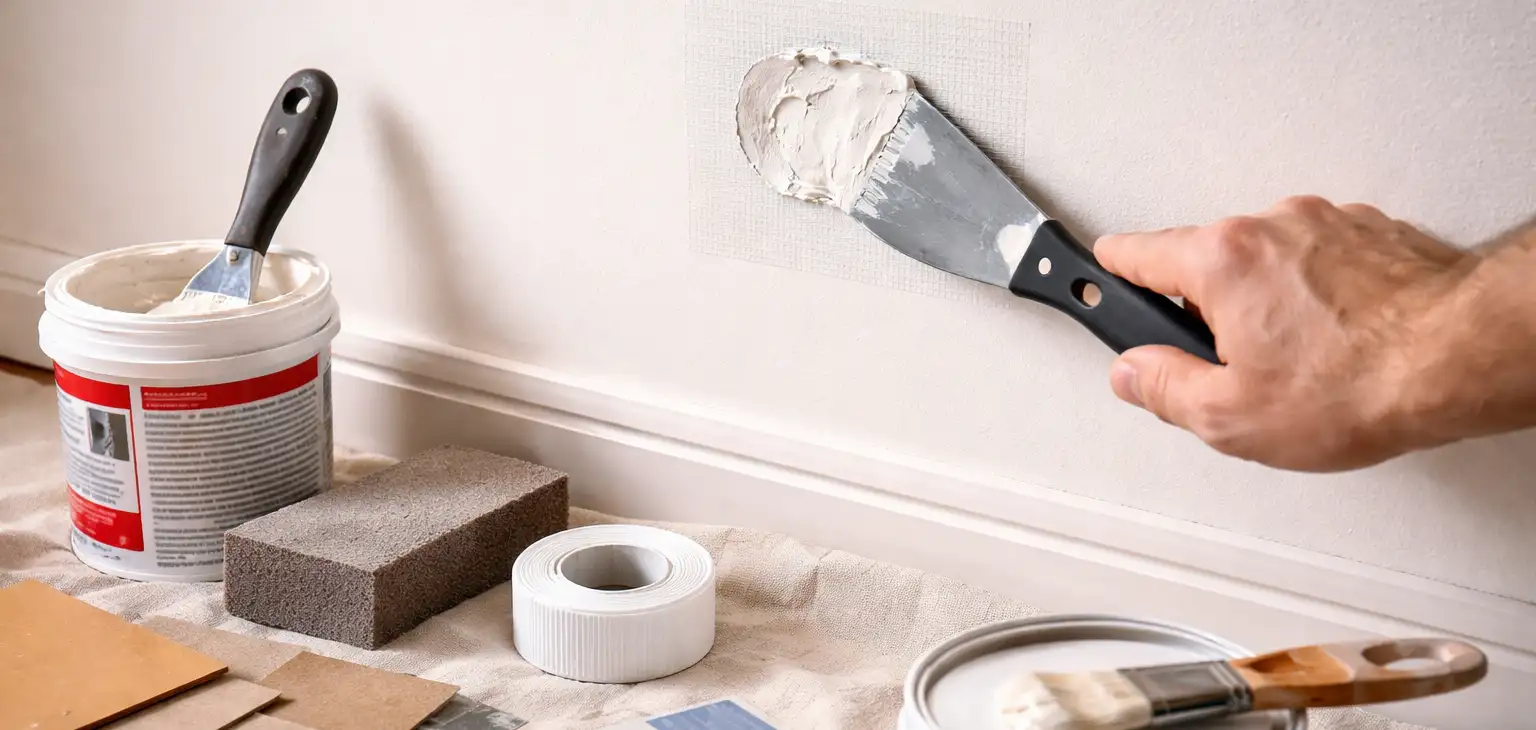
Peel and stick the mesh patch over the hole. This provides structure and prevents the compound from sinking in.
Apply joint compound over the patch, spreading it evenly beyond the edges. Feathering the edges is key – this means gradually thinning the compound as you move away from the center.
Let it dry completely, then sand it smooth. You may need a second layer to fully hide the patch.
Prime and paint. Once finished, the repair should blend in naturally with the rest of the wall.
Common Mistakes Beginners Make
Here’s where things often go wrong – and where a little awareness can save a lot of frustration.
Applying too much compound is one of the biggest mistakes. It seems logical to “fill it well,” but excess material leads to uneven surfaces and more sanding.
Skipping sanding is another classic error. Even a small bump becomes obvious after painting.
Rushing the drying process is also risky. Wet compound doesn’t sand well and can ruin your finish.
And finally – mismatched paint. Even a perfectly repaired wall will look off if the paint doesn’t match. This is where many DIY repairs reveal themselves.
When DIY Stops Making Sense
Fixing a tiny hole can feel empowering. Fixing five of them? Still manageable. But when the wall starts looking like a patchwork experiment, it might be time to rethink the approach.
Professional painters and drywall specialists don’t just fix holes – they restore surfaces so repairs become invisible. They also handle texture matching, which is often the hardest part for beginners.
This is especially relevant for anyone dealing with larger projects or preparing a space for resale. In those cases, quality matters more than experimentation. Many homeowners who start with small DIY fixes eventually turn to experts in home repairs in Calgary to ensure a flawless final result.
The Hidden Skill – Making It Look Like Nothing Happened
The real challenge isn’t filling the hole – it’s making the repair disappear.
That requires attention to detail, proper sanding, correct priming, and most importantly, paint blending. Walls often have subtle variations in color and texture that are hard to replicate without experience.
Professionals spend years mastering this. What looks like a simple task is actually a combination of technique and precision.
If your goal is perfection rather than “good enough,” bringing in specialists can save both time and effort – especially when the wall is in a visible or high-traffic area.
DIY vs Hiring Professionals – A Practical Perspective
DIY drywall repair makes sense when:
- The damage is small and isolated
- You have time to experiment
- A slight imperfection won’t bother you
Hiring professionals makes more sense when:
- The wall needs to look flawless
- There are multiple repairs
- The surface includes texture or special finishes
- You simply don’t want the hassle
In many cases, what starts as a simple repair turns into a broader project. That’s when services related to home renovation in Calgary become a logical next step, ensuring consistency and quality across the entire space.
Final Thoughts – Confidence Is Good, Results Are Better
Repairing small drywall holes without experience is absolutely doable. With the right tools, a bit of patience, and realistic expectations, you can achieve solid results.
But there’s also value in knowing when to step back. Not every repair needs to be a DIY challenge, especially when professional results can elevate the entire look of your space.
Think of it this way – fixing a hole is easy. Making it invisible is an art.
And sometimes, the smartest move isn’t doing it yourself, but letting experts handle it while you enjoy the perfectly smooth wall afterward.